
What is Azure AD Privileged Identity Management (PIM):
Azure Active Directory (Azure AD) Privileged Identity Management (PIM) is a service that enables you to manage, control, and monitor access to important resources in your Tenant.
Reasons to use PIM:
- Minimize the number of people with access.
- Allow Just-in-Time Privileged access to resources.
- Mitigate risk of a malicious actor getting access or unnecessary or misused access rights.
- Can Require approval for access rights.
- Enforce Multi-Factor Authentication to enable role access.
- Audit access and use of roles.
Requirements:
- Azure AD Premium P2
- Enterprise Mobility + Security (EMS) E5
Configure Azure AD Privileged Identity Management (PIM):
Login to the Azure Portal.
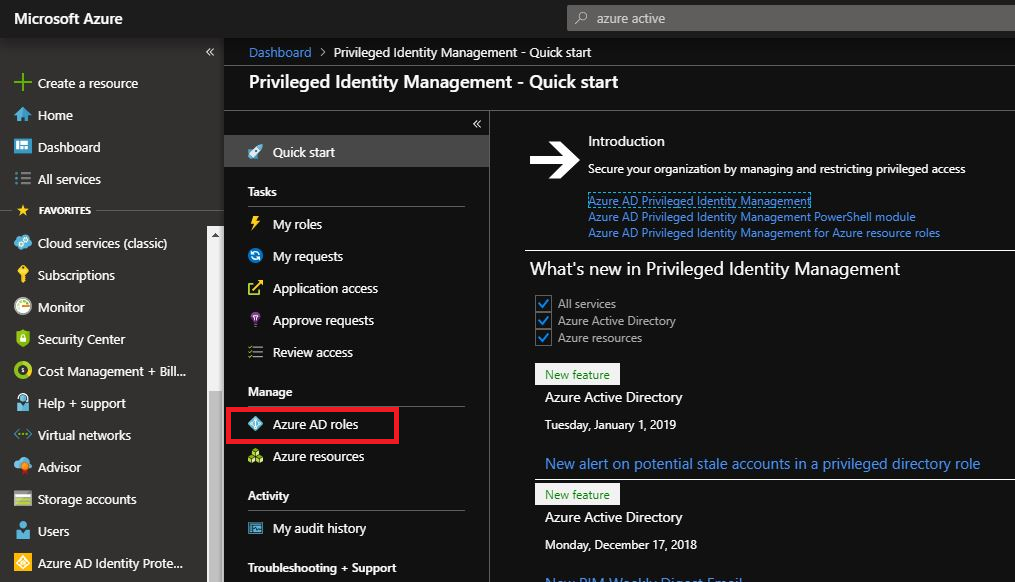
Go to All Services and search for Azure AD Privileged Identity Management.
*I would recommend clicking the star on the right to favorite this to your Azure Home Page.

Select Azure AD Roles.
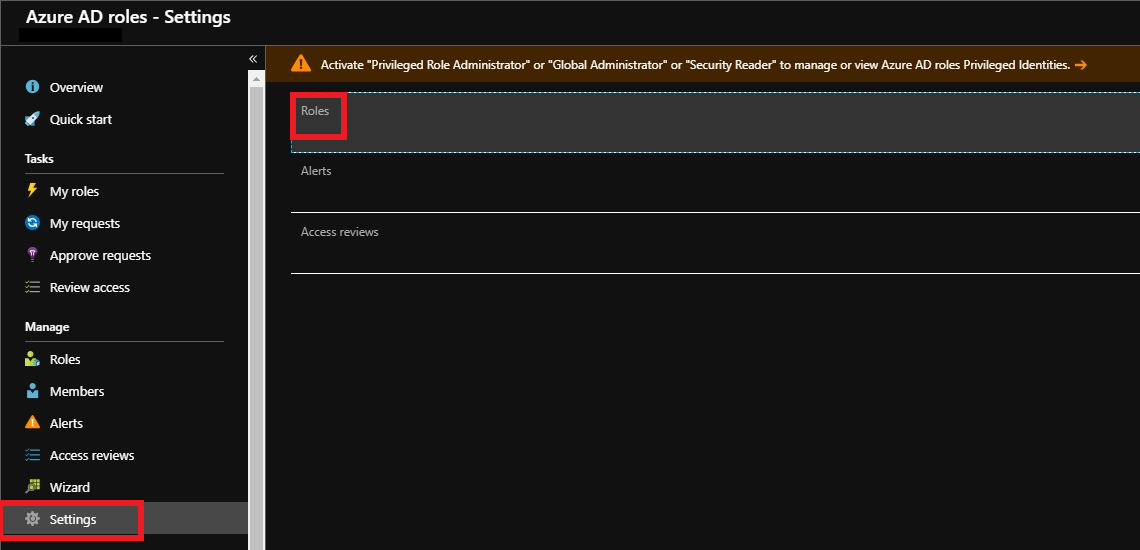
Next Select Settings then Roles.
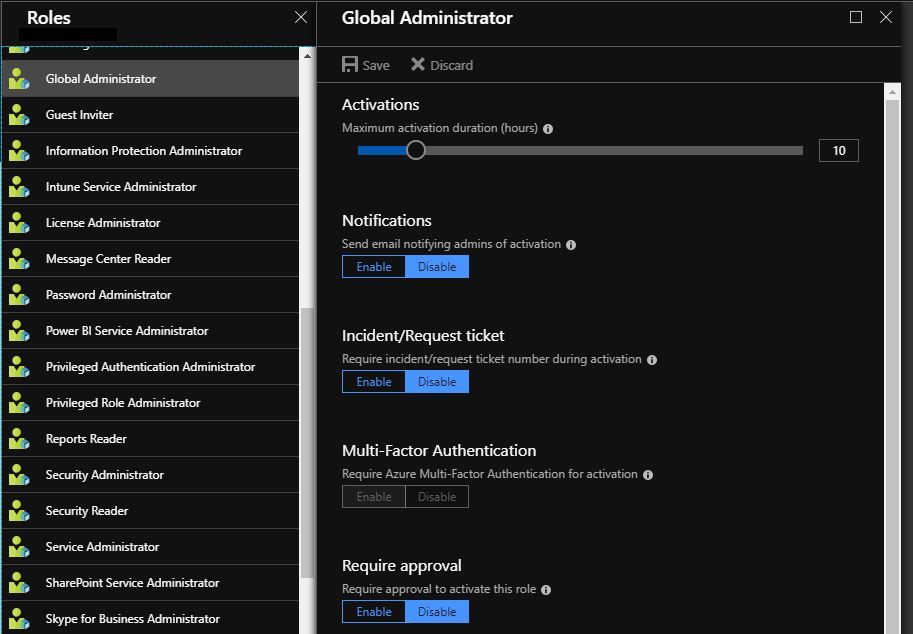
Select Role Assignment you wish to modify. Our example will use Global Administrators.
Here you can setup the:
Maximum activation duration (hours) the role will be active.
Notifications to send email notifying admins of the role activation.
Require and incident/request number during activation.
Multi-Factor Authentication – Note this is non selectable and required for Global Administrators.
Require Approval to activate this role.
Back in settings you can also modify the Alert and Access Review sections in a similar manner.
Click Wizard in the menu then select to Convert members to eligible.
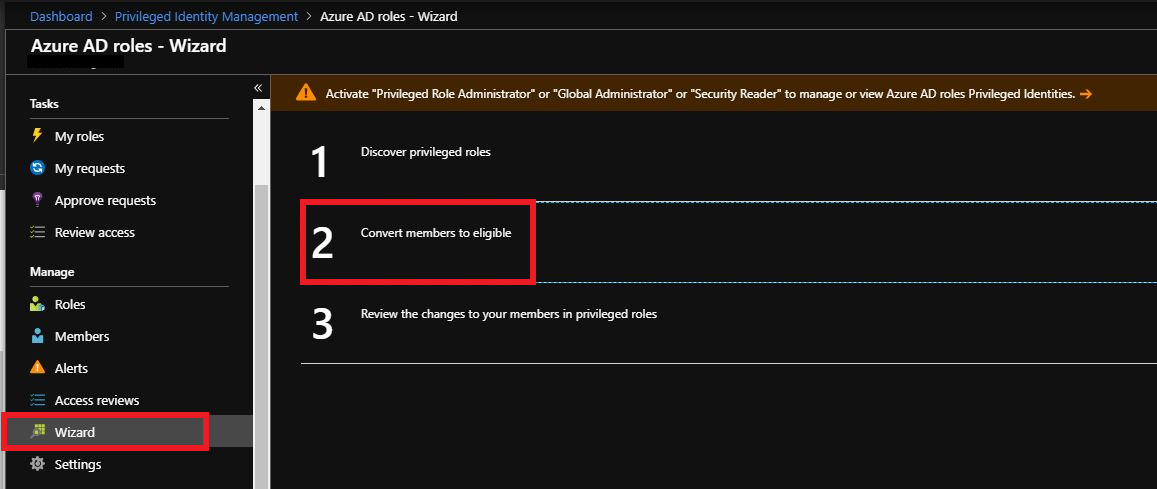
Next check the box next to each user to change to eligible to activate PIM and then select Next and save.
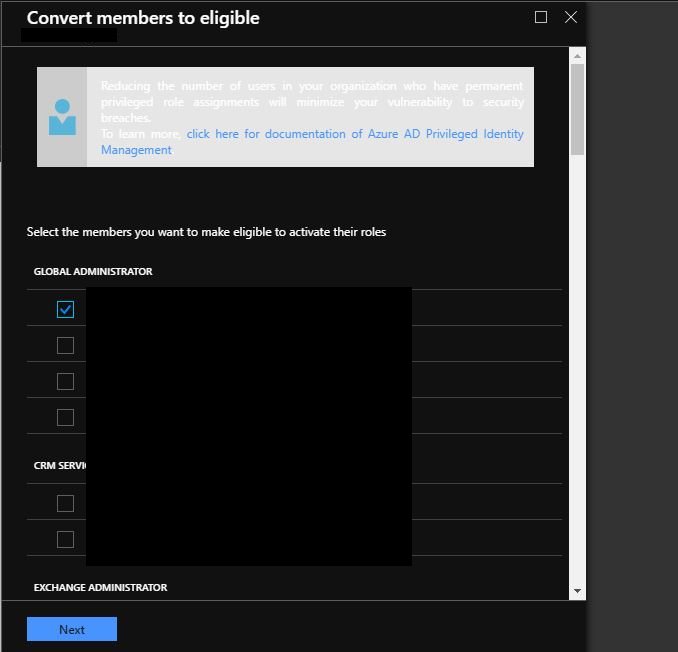
These users are now required to Activate to use the Role and require the settings you selected for activation success.
To Activate a Role Using Azure AD Privileged Identity Management (PIM):
Login to the Azure Portal.
Go to All Services and search for Azure AD Privileged Identity Management.
*I would recommend clicking the star on the right to favorite this to your Azure Home Page.
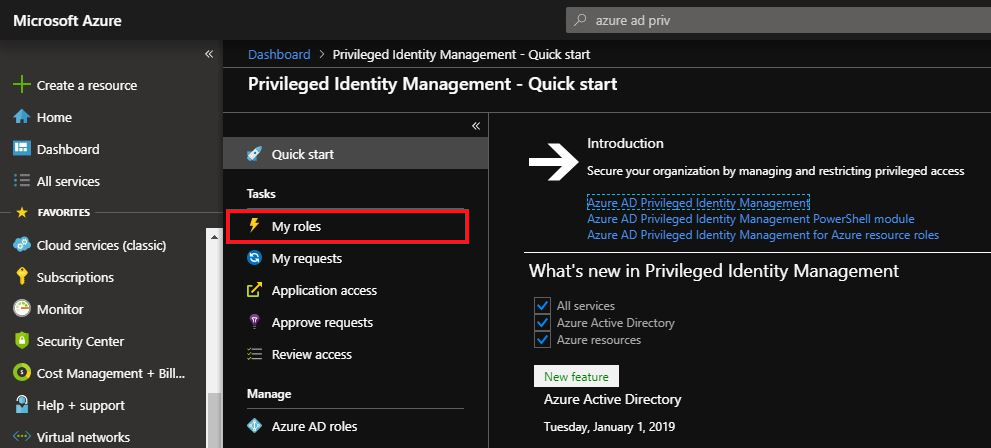
Select My roles.
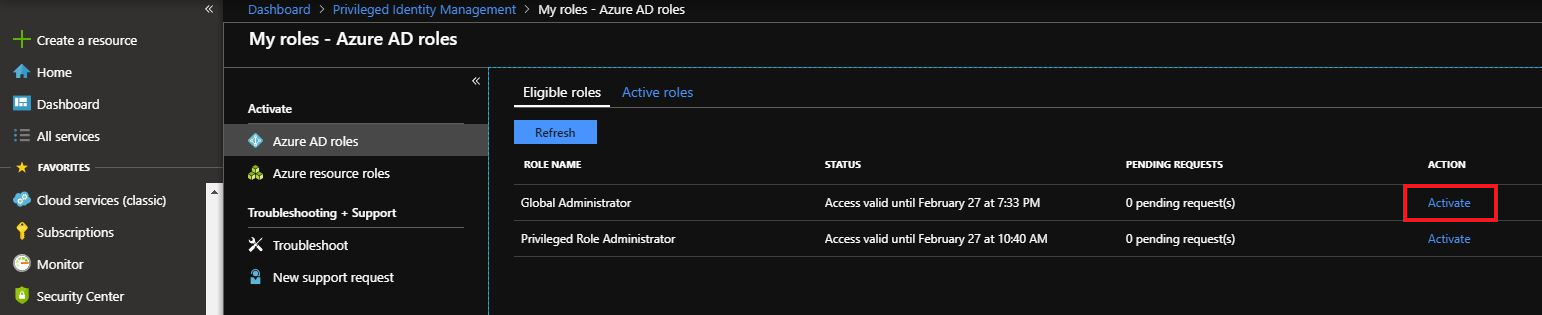
Here you can view your Eligible Azure AD roles. Click the Activate Action on the needed role access.
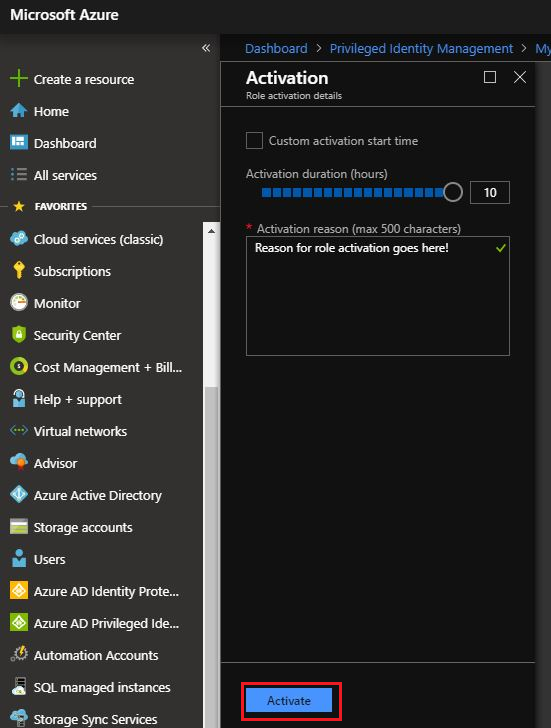
Click Activate.
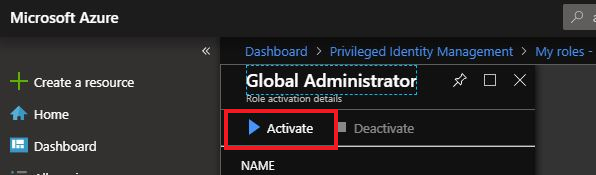
On the Activation blade you can see the Activation duration (hours) that the role will be available for. Note this can be adjusted by the role policy.
Enter Activation Reason and click Activate at the bottom of the blade.
This will take a few moments then require you to logout then back into the Azure portal to have the newly activated role permissions.
